Search This Blog

Showing posts with label Household. Show all posts

Tuesday, May 31, 2016

Embroidery Project with Veggin Stamp Set

Hi everyone, Jes today. I'm over on the Sweet Stamp Shop blog with this fun embroidery project, and I thought I'd share here with you as well. When Sweet released the new VersaCraft ink, I saw an excellent opportunity to combine two of my favorite crafting hobbies: embroidery and stamping. 


The hardest part was deciding which set to use.  I ended up ordering the Veggin set when I ordered the VersaCraft ink pad. I like to have decorated dish towels on hand to give out as gifts. The adorable veggies were perfect for a set of dish towels. 

When using a new ink I like to test it several times on scrap paper, or in this case fabric scraps, to get a feel for how it works.  With my smaller blocks I tended to smudge it quite a bit as I pulled up, but with the Fiskars Stamp Press I was able to get a clean impression.

The ink was still a bit light in some places, but I just traced over it very lightly with a pencil since it was going to be hidden with thread anyway. I made the mistake of not ironing out the crease from being folded when I did my project. It didn’t hinder the stamping or the embroidering, but it did annoy me a bit. 

Before I start stitching a project, I like to pick out all the thread colors and have them in a little basket that can also hold my project when I’m not working on it. It makes it easier to have everything on hand.  It’s also a habit of mine to finish all of one color before moving on to another.  It can be tedious when working on larger projects, but with this design it moved very quickly.

I zoomed in on this to show you the stitching in more detail. I used a simple stem stitch to outline each of the veggies. I considered filling them all in, but was afraid the cute little faces would not show up as well. So, I chose to just fill in accents on each veggie. The faces were a bit too small for me to stitch in and have it look right, so I traced them with a marker instead. 


Here is a close up of the finished project.  My best friend has already laid claim to this towel, and asked for a complete set.  Dish towels are just the first item on my list of things to make now that I have this new ink.  Some other projects I have in mind are: aprons, t-shirts, bags, wall art, wash cloths, bibs, pillowcases, handkerchiefs, baby blanket, pot holders, tea cozy, placemats, napkins, and various clothing items for my daughter.  I hope that this post inspires you to explore outside the world of paper crafting. If you use Sweet stamps be sure to tag us on PinterestInstagram, and Facebook. We love to see what you create.

Wednesday, March 23, 2016

Crafting Supply Inventory

Hi everyone! It's Jes again! Have you see the new Art Collection stamp set from Sweet Stamp Shop? It is the perfect little stamp set for creating an inventory of my crafting supplies. I picked it up a few weeks ago, and haven't really had a chance to work with it. This week, I've been working on reorganizing my craft room.  Now that everything has it's on place, I needed a simple way to keep track of what I already had.  To track my stamps, I have a digital album that I can reference when I am shopping.  I needed something for my inks, markers, colored pencils, and pens that I could take along with me when I was out trying to spend all my money at craft stores. ;) I decided to make a simple little booklet that would fit in my purse, but also worked with my faux-dori travelers notebook when I take that out and about.
You'll need: Printer paper, pretty card stock, a rotating stapler (get a good one, mine is junk and I silently scold myself every time I use it), and a rotary blade or xacto knife. Optional, but very helpful items are a bone folder and a scoring board. (See below for links.)

Step one:  Score all the paper (one at a time) at 5 1/2 inches. Fold and crease firmly with your bone folder.
Step two: Add all the folded printer paper inside your cardstock cover, and crease firmly.  Then staple the pages together.  
Step three: Trim off the overhang from the side of your book if it bothers you. I tried to use my paper trimmer but my book was too think so I ended up using my rotary cutter.
Step four: Decorate your cover, if you so desire. Looking at mine here, I realize I forgot to finish adding in my markers and pencils for that final little pop, but that's an easy fix.
Last but not least, fill the pages with anything your heart desires. :) I have a similar book for my grocery shopping. One that I use as a journal of sorts, and another holds my running to do lists.  I have some for gift tracking/wishlists for my family and friends, one for quotes and things that inspire me, and a bucket list for my family.  They are perfect for tracking pretty much anything. 
 And a close up just because I really love these little markers from the set!

What would you use a little insert booklet like this for? 

Supplies:
Stamp set: Art Collection
Paper: Any printer paper will work
Cardstock: I bought a pack of 8x11 card stock from Walmart
Stapler: Rotating Stapler
Bone folder: Craft bone folder


Wednesday, February 10, 2016

Hey, everyone!  It's Kristine again, and today I have the quickest, easiest project you can imagine - a custom dry erase board!  You will be amazed at how simple this project is - I completed mine in less than an hour - and at how many applications it has.

Here's what the final result looks like - isn't it awesome?


Let's get started!  The materials you will need are (pictured below): a picture frame of your choice (any size will do, but think about what you want to use it for, where it will be located, and how much writing will be on it), paper to serve as your background (I used brown craft cardstock), a cutting mat and craft knife OR a paper trimmer, stamps and ink of your choice (I used the Title Script and Epic Notes sets from Sweet Stamp Shop), and coloring medium of your choice (I used Prismacolor colored pencils).


Begin by taking the backing off your frame and removing all the pieces from the inside.  Using the paper that came with the frame as a guide, cut a piece of decorative paper to the same size.  You want the paper to fit snugly inside the frame with no gaps showing through the front.


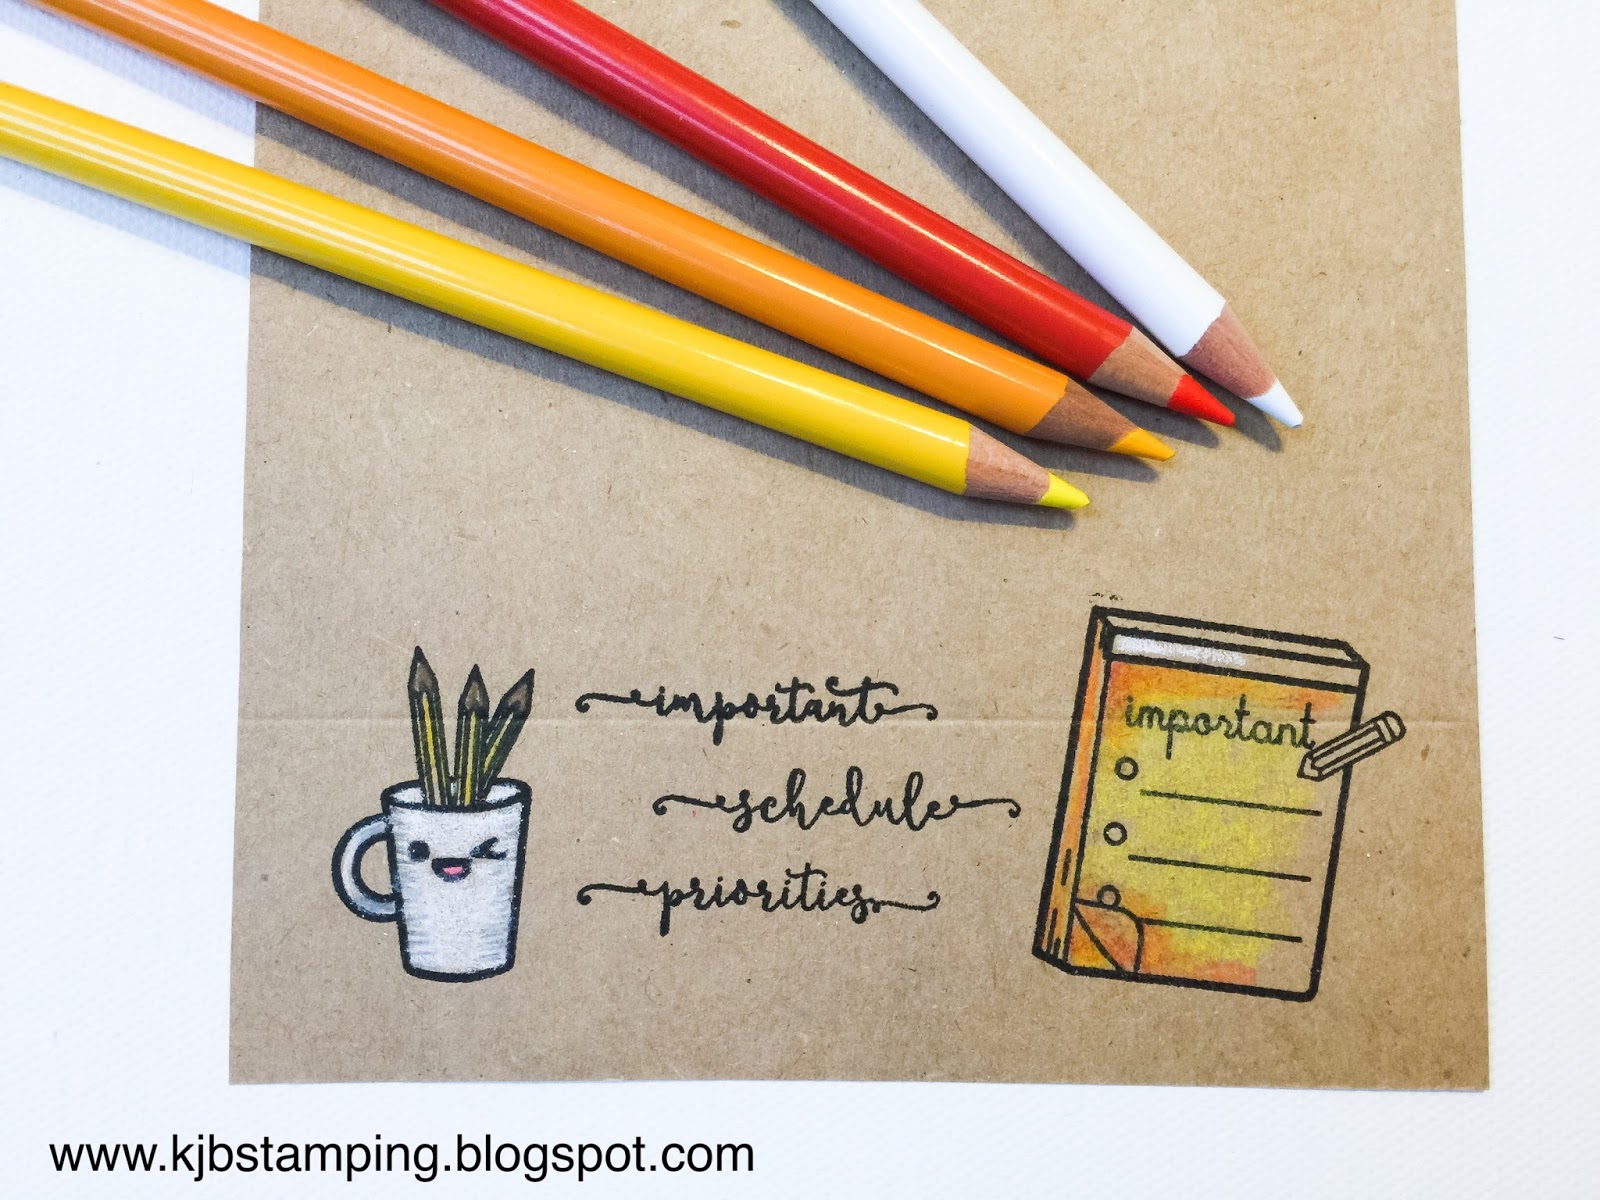
Keeping in mind that there will be a bit of the paper that doesn't show around the edges because of how the front of the frame overlaps the glass, stamp your images wherever you like.  I'm planning to use my dry erase frame as a reminder for meetings and tasks at school, so I put my stamped images at the bottom and left most of the paper empty so that my writing on the glass won't complete with the stamped images.


Once the stamping is done, color in your images to make them fun and cute!


Finally, put the parts of your frame back together with the new stamped sheet right behind the glass, and you're good to go!  You can write on the glass with a dry erase marker, which erases easily with just a tissue, or a permanent Sharpie marker - Sharpie writing won't smudge off easily, but will need to be erased with a cotton ball dampened with a bit of rubbing alcohol.  

This particular frame lives on my desk at school and I use it to write down anything I don't want to forget and need right in front of me all the time - meetings, detention dates, duties, deadlines for grades, etc.  It's super handy!


A dry erase board like this could also be really handy to have at home.  You could make a personalized message board for the family, a menu center to help you keep track of meals for the week, cleaning schedule, ongoing grocery list, just about anything!  Here's one I made for a family to use to leave each other notes about why they love each other - how cute would that be out on the kitchen counter for anyone to use at any time?  How fun would it be to come home and find a message to YOU there from one of your loved ones?


And hey, isn't this a great gift idea, too?  It could be personalized for any person or family.

We hope you have enjoyed seeing how easy it is to make one of these dry erase boards, and we hope you try it yourself!  If you do make one, drop us a line below and let us know how it went!