Search This Blog

Showing posts with label Gifts. Show all posts

Tuesday, May 31, 2016

Embroidery Project with Veggin Stamp Set

Hi everyone, Jes today. I'm over on the Sweet Stamp Shop blog with this fun embroidery project, and I thought I'd share here with you as well. When Sweet released the new VersaCraft ink, I saw an excellent opportunity to combine two of my favorite crafting hobbies: embroidery and stamping. 


The hardest part was deciding which set to use.  I ended up ordering the Veggin set when I ordered the VersaCraft ink pad. I like to have decorated dish towels on hand to give out as gifts. The adorable veggies were perfect for a set of dish towels. 

When using a new ink I like to test it several times on scrap paper, or in this case fabric scraps, to get a feel for how it works.  With my smaller blocks I tended to smudge it quite a bit as I pulled up, but with the Fiskars Stamp Press I was able to get a clean impression.

The ink was still a bit light in some places, but I just traced over it very lightly with a pencil since it was going to be hidden with thread anyway. I made the mistake of not ironing out the crease from being folded when I did my project. It didn’t hinder the stamping or the embroidering, but it did annoy me a bit. 

Before I start stitching a project, I like to pick out all the thread colors and have them in a little basket that can also hold my project when I’m not working on it. It makes it easier to have everything on hand.  It’s also a habit of mine to finish all of one color before moving on to another.  It can be tedious when working on larger projects, but with this design it moved very quickly.

I zoomed in on this to show you the stitching in more detail. I used a simple stem stitch to outline each of the veggies. I considered filling them all in, but was afraid the cute little faces would not show up as well. So, I chose to just fill in accents on each veggie. The faces were a bit too small for me to stitch in and have it look right, so I traced them with a marker instead. 


Here is a close up of the finished project.  My best friend has already laid claim to this towel, and asked for a complete set.  Dish towels are just the first item on my list of things to make now that I have this new ink.  Some other projects I have in mind are: aprons, t-shirts, bags, wall art, wash cloths, bibs, pillowcases, handkerchiefs, baby blanket, pot holders, tea cozy, placemats, napkins, and various clothing items for my daughter.  I hope that this post inspires you to explore outside the world of paper crafting. If you use Sweet stamps be sure to tag us on PinterestInstagram, and Facebook. We love to see what you create.

Wednesday, April 27, 2016

Sweet Candy Straws

Happy Hump Day!  It's Kristine with you again, and today I have a super cute, super EASY craft that kids of all ages will love!  Take a look at these adorable candy straws:


Aren't these cute?  Who wouldn't love to get one of these?  Let me show how incredibly easy they are to make!

The first thing you need to do is get some of these cellophane bags.  I got mine from GT Bag - these are the 1"x8" lip and tape bags.  They're only $4 for 100 bags - you can't beat that deal!  Here's the product number, in case you can't find them on the site:


The next thing to do is decide what you want your topper image to be.  I'm a teacher and my students take their big state exams next month, so I thought a little encouragement in the form of superheroes would be appropriate - enter Sweet Stamp Shop's Girl Power and Super Boy stamp sets!  I stamped the hero figures on white cardstock and cut them out with a 2" circle punch.


Next, I colored the figures and attached them to colored cardstock cut with a 2-1/4" scalloped circle punch:


And then it was time to assemble!  I filled each bag with Skittles to the top (any candy about the same size as Skittles will work; I've also used plain m&m's), then peeled off the tab and folded down the top to seal them.


Then I added a little adhesive to the back of the toppers (I used glue dots) and stuck them on the top of the bags.  Voila! SUPER awesome candy treats that I know my students will enjoy.

The amazing thing about this project is that the applications are truly almost limitless - they can be made as any kind of party favor (retirement, birthday, baby shower, you name it!); and grouped together in a mason jar or other cute container, they'd make perfect centerpieces, too!


I hope you guys liked this project - if you decide to make your own candy straws, please tag me on Facebook (Kristine Bryant) or on Instagram (@teachplancraft).  I'd love to see what you do with this idea!

Sunday, March 20, 2016


Hey everyone, it's Jes today, back with a fun watercolored set of cards! Happy first day of spring! Here in Indiana it's a lovely (read: freezing) sunny day, with a high of 43 degrees.  A perfect day to stay inside and craft.  Today, I'm going to show you a set of cards that I made to keep in my bag.  I've often wished I had a pretty, blank card for various occasions, but never seemed to have one on hand. That inspired me to make this set of cards to have on hand.

This is what my final four looked like. There were five, but I really messed up on one, badly! I gave that one to my daughter.  For this project you'll need watercolor paper (cut to size), a pretty stamp set, card bases of your choice, embossing powder and ink, a heat tool, and your favorite watercolor medium (I like to use tombow markers and water brushes). 
(see below for links to everything I used.)
I chose to use the Flutterby stamp set from Lawn Fawn for my decorations.  The cards are from Michaels. When I got this stamp set I knew it would be perfect for embossing and watercoloring. I loved all the detail.   
Step one: Emboss a pretty design in the bottom corner of each pre-cut piece of water color paper. I used a silver embossing powder from the Michael's Recollection collection.  Stamp the image with the embossing ink of your choice, sprinkle the powder on, and heat set. I love the shimmery look of this powder. I like to work in sections when I'm doing multiple cards.  Here are all the cards after embossing.  (See the blue one? That's the one that became a major fail. Maybe someday I'll do a #fail blog post just for kicks.) 
My next step was to add a water colored background on each card.  I found a technique on Youtube (link below) called ink smooshing and I couldn't wait to try it.  I used my fiskars stamp press as a base. I scribbled on it with my Tombow markers. Make sure to leave the corner where your design is blank. Then, sprinkle some water on the stamp press just to wet the colors and make it easy to transfer. 
Lay your paper over the ink and press down. Leave it a few seconds to really soak up the water.  Then, peal it off very carefully. There will be some water pooling on the edges.  Just dab it off with a paper towel.  
I like to let my cards dry a bit before I tape them down to my work surface. That way, the color on the corners doesn't come up or pool when I take the tape off later.  It is much easier to color the designs if your project is taped down. 
Next, I used my tombow markers and water brushes to add color to each of the flowers and butterflies on the cards.  
This part was kind of time consuming, but it was my favorite part.  I got braver and experimented more with color as I moved from card to card.  Here is a close up of each of the final four cards. 


Thanks for stopping by! I hope you liked this project. If you try it out, leave me a comment and let me see your final designs!  


Supplies: 
    Stamps-  Flutterby from Lawn Fawn
    Paper - Canson Watercolor Paper
    Ink -  Versamark
    Embossing Powder - Recollections Sparkle Powder
    Card Bases - Craft Smith: Textured Cards
    Stamp Press - Fiskars
    Markers - Tombows
    Water Brushes - Pentel Arts


Wednesday, February 24, 2016

Happy Wednesday, everyone!  It's Kristine back with you today, and I have a quick, easy, CUTE solution to a birthday party problem!

Last week, my dear friend's son turned 6 years old, and she was having a birthday party for him.  The budget was tight, but my friend wanted to give all the children a fun, personal favor to remember the party by.  We were trying to come up with possible ideas, but nothing would work for her.  I was thinking about all my card-making and planner stamps, wondering if I could make something with them instead of buying something.  And then inspiration struck!

I have been using these do-it-yourself buttons at Michaels for a couple of years now - I'm an 8th grade math teacher and I make buttons for the kids who score 100 on tests to wear around school:


I had just given a bunch of buttons out a couple of days before, since we'd just had our unit 5 test, so I had these buttons on the brain.  And I realized that I could use my stamps to create fun buttons for my friend's son's birthday party!

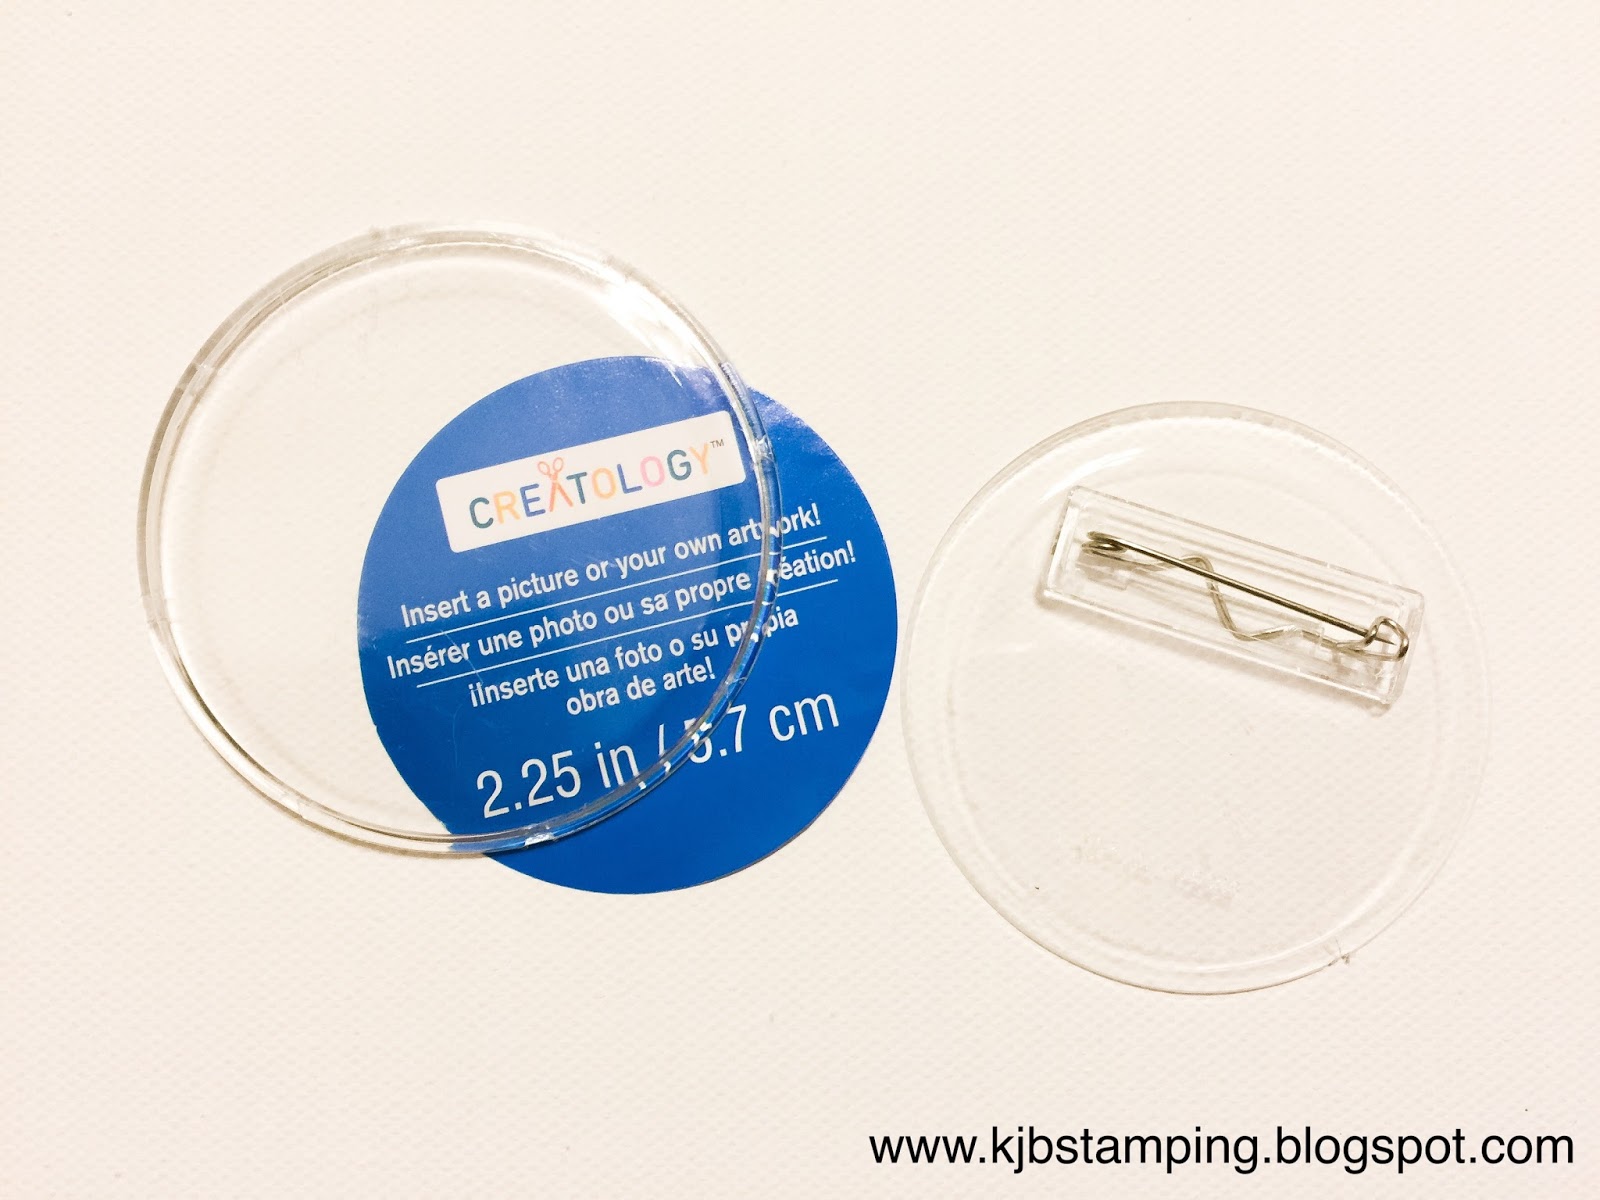
Here is what the package of buttons looks like when you buy it.  I found them in the children's crafts section of Michaels, and they were $4.99 for the package of 12.  Not a bad deal!


The backs of the buttons pop off the front fairly easily, though you do have to be careful not to crack them.  The first thing I did was pop off all the backs and remove the paper inserts.


The inserts are not quite big enough to completely fill the buttons; if you look at the photo of the buttons still in the packaging, you can see a bit of clear space around each blue insert.  So I used a compass to draw a circle that's slightly smaller than 2.25" in diameter on an index card and cut that out to make my template.  Then I used that to trace 12 circles on smooth white cardstock (I have also found that plain paper works just as well - budget win!) and chose images to stamp on each circle. (This party did not have a theme, so I chose generic images all from Sweet Stamp Shop so that the images would all have the same general style and feel. You could certainly use any stamps you have, mixing and matching to create a set that works for your party theme, if you have one.) Since the kids going to the party were fairly young, I decided to go with a few large images on each button and stamped them in black ink.  I purposely did not add any sentiments to the buttons.


Once the buttons were stamped, it was quick and easy to cut them out, put them in the buttons, and pop the backs on.  I left them black and white on purpose; one of the activities my friend planned for the party was for the kids to each choose a button and color it themselves.  Then they'd truly have a personal party favor to take home and wear!


I decided to also make her son a "birthday boy" button that he could wear for the whole party to make him feel extra special on his big day.  Are these not completely adorable?


This project cost only $0.42 per child, since I already had all the stamps and ink on hand.  You can't beat that for a budget project that's unique and totally cute!  And really, the possibilities are endless for these buttons. Let your imagination fly!

Thank you so much for stopping by and visiting today!  We'd love your feedback on this post, so please feel free to comment below.  And if you decide to make your own stamped buttons, tag us on Instagram (@teachplancraft, @jes_planning) so we can see your awesome creations. Have a great day!

Stamp sources:  All stamps from Sweet Stamp Shop:

Wednesday, February 10, 2016

Hey, everyone!  It's Kristine again, and today I have the quickest, easiest project you can imagine - a custom dry erase board!  You will be amazed at how simple this project is - I completed mine in less than an hour - and at how many applications it has.

Here's what the final result looks like - isn't it awesome?


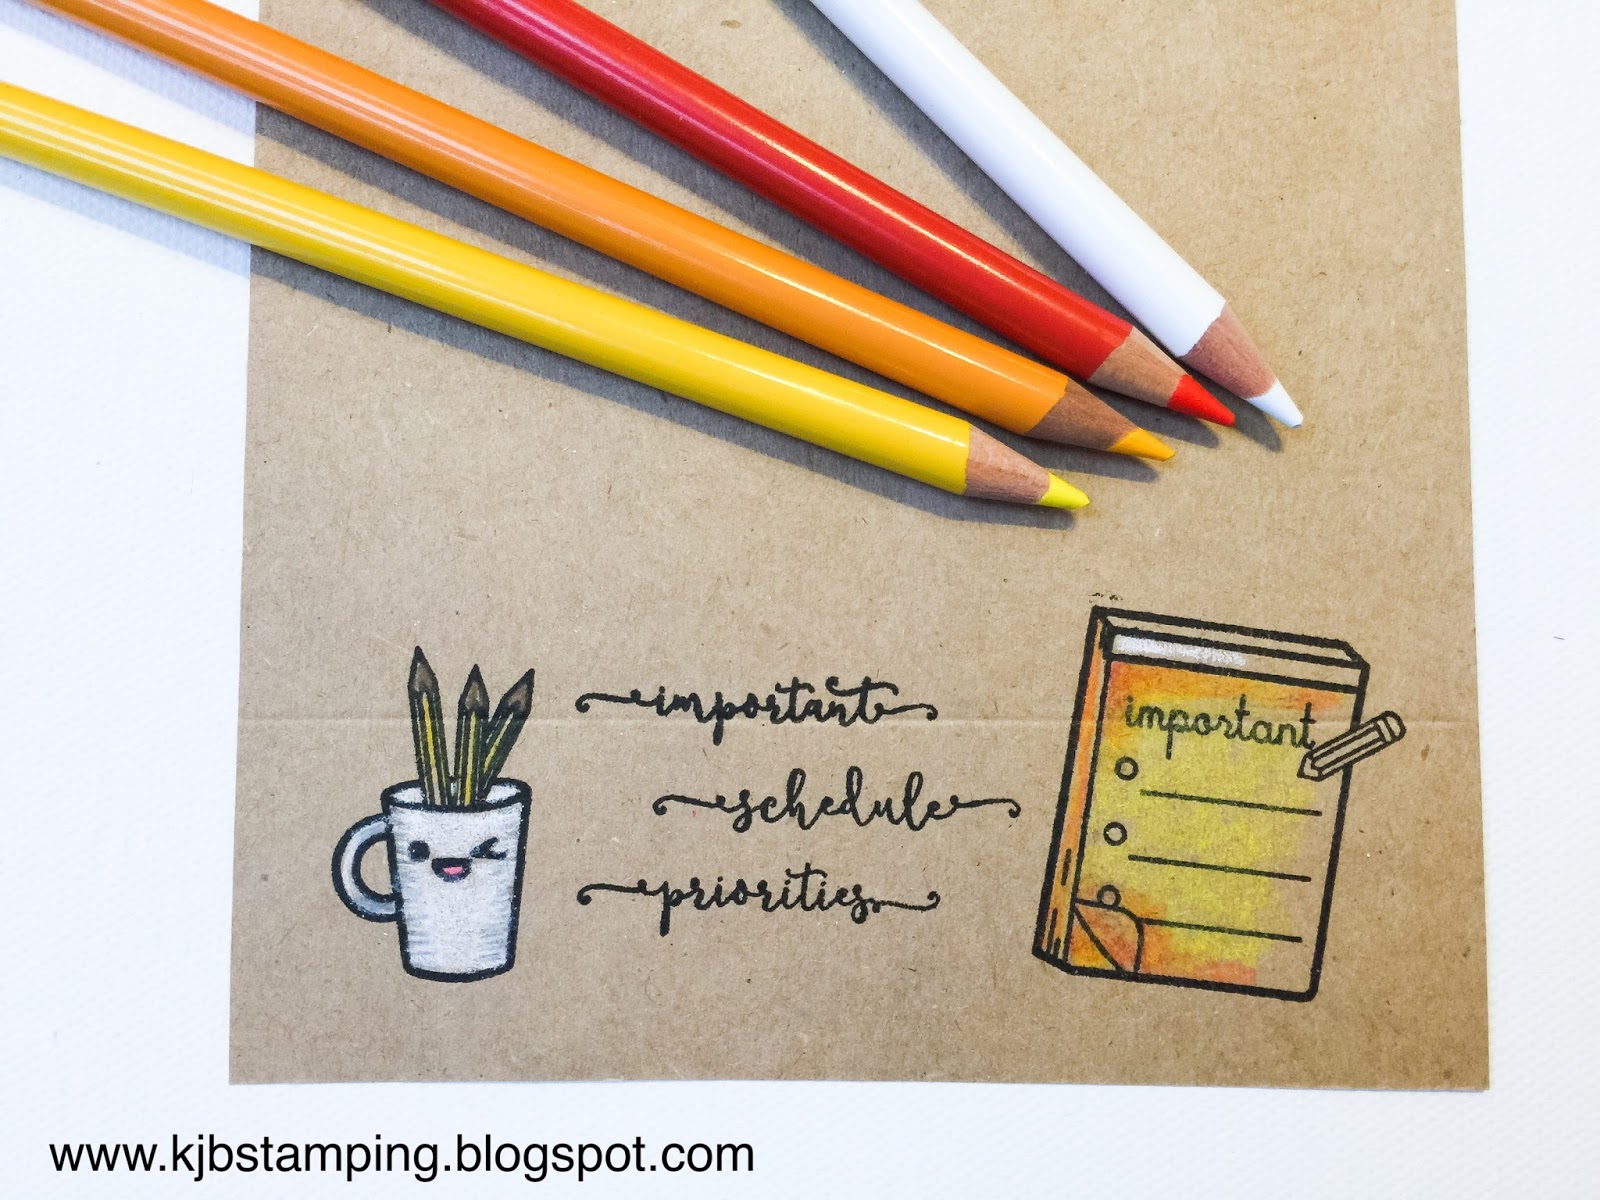
Let's get started!  The materials you will need are (pictured below): a picture frame of your choice (any size will do, but think about what you want to use it for, where it will be located, and how much writing will be on it), paper to serve as your background (I used brown craft cardstock), a cutting mat and craft knife OR a paper trimmer, stamps and ink of your choice (I used the Title Script and Epic Notes sets from Sweet Stamp Shop), and coloring medium of your choice (I used Prismacolor colored pencils).


Begin by taking the backing off your frame and removing all the pieces from the inside.  Using the paper that came with the frame as a guide, cut a piece of decorative paper to the same size.  You want the paper to fit snugly inside the frame with no gaps showing through the front.


Keeping in mind that there will be a bit of the paper that doesn't show around the edges because of how the front of the frame overlaps the glass, stamp your images wherever you like.  I'm planning to use my dry erase frame as a reminder for meetings and tasks at school, so I put my stamped images at the bottom and left most of the paper empty so that my writing on the glass won't complete with the stamped images.


Once the stamping is done, color in your images to make them fun and cute!


Finally, put the parts of your frame back together with the new stamped sheet right behind the glass, and you're good to go!  You can write on the glass with a dry erase marker, which erases easily with just a tissue, or a permanent Sharpie marker - Sharpie writing won't smudge off easily, but will need to be erased with a cotton ball dampened with a bit of rubbing alcohol.  

This particular frame lives on my desk at school and I use it to write down anything I don't want to forget and need right in front of me all the time - meetings, detention dates, duties, deadlines for grades, etc.  It's super handy!


A dry erase board like this could also be really handy to have at home.  You could make a personalized message board for the family, a menu center to help you keep track of meals for the week, cleaning schedule, ongoing grocery list, just about anything!  Here's one I made for a family to use to leave each other notes about why they love each other - how cute would that be out on the kitchen counter for anyone to use at any time?  How fun would it be to come home and find a message to YOU there from one of your loved ones?


And hey, isn't this a great gift idea, too?  It could be personalized for any person or family.

We hope you have enjoyed seeing how easy it is to make one of these dry erase boards, and we hope you try it yourself!  If you do make one, drop us a line below and let us know how it went!