Last week, my dear friend's son turned 6 years old, and she was having a birthday party for him. The budget was tight, but my friend wanted to give all the children a fun, personal favor to remember the party by. We were trying to come up with possible ideas, but nothing would work for her. I was thinking about all my card-making and planner stamps, wondering if I could make something with them instead of buying something. And then inspiration struck!
I have been using these do-it-yourself buttons at Michaels for a couple of years now - I'm an 8th grade math teacher and I make buttons for the kids who score 100 on tests to wear around school:

I had just given a bunch of buttons out a couple of days before, since we'd just had our unit 5 test, so I had these buttons on the brain. And I realized that I could use my stamps to create fun buttons for my friend's son's birthday party!
Here is what the package of buttons looks like when you buy it. I found them in the children's crafts section of Michaels, and they were $4.99 for the package of 12. Not a bad deal!

The backs of the buttons pop off the front fairly easily, though you do have to be careful not to crack them. The first thing I did was pop off all the backs and remove the paper inserts.
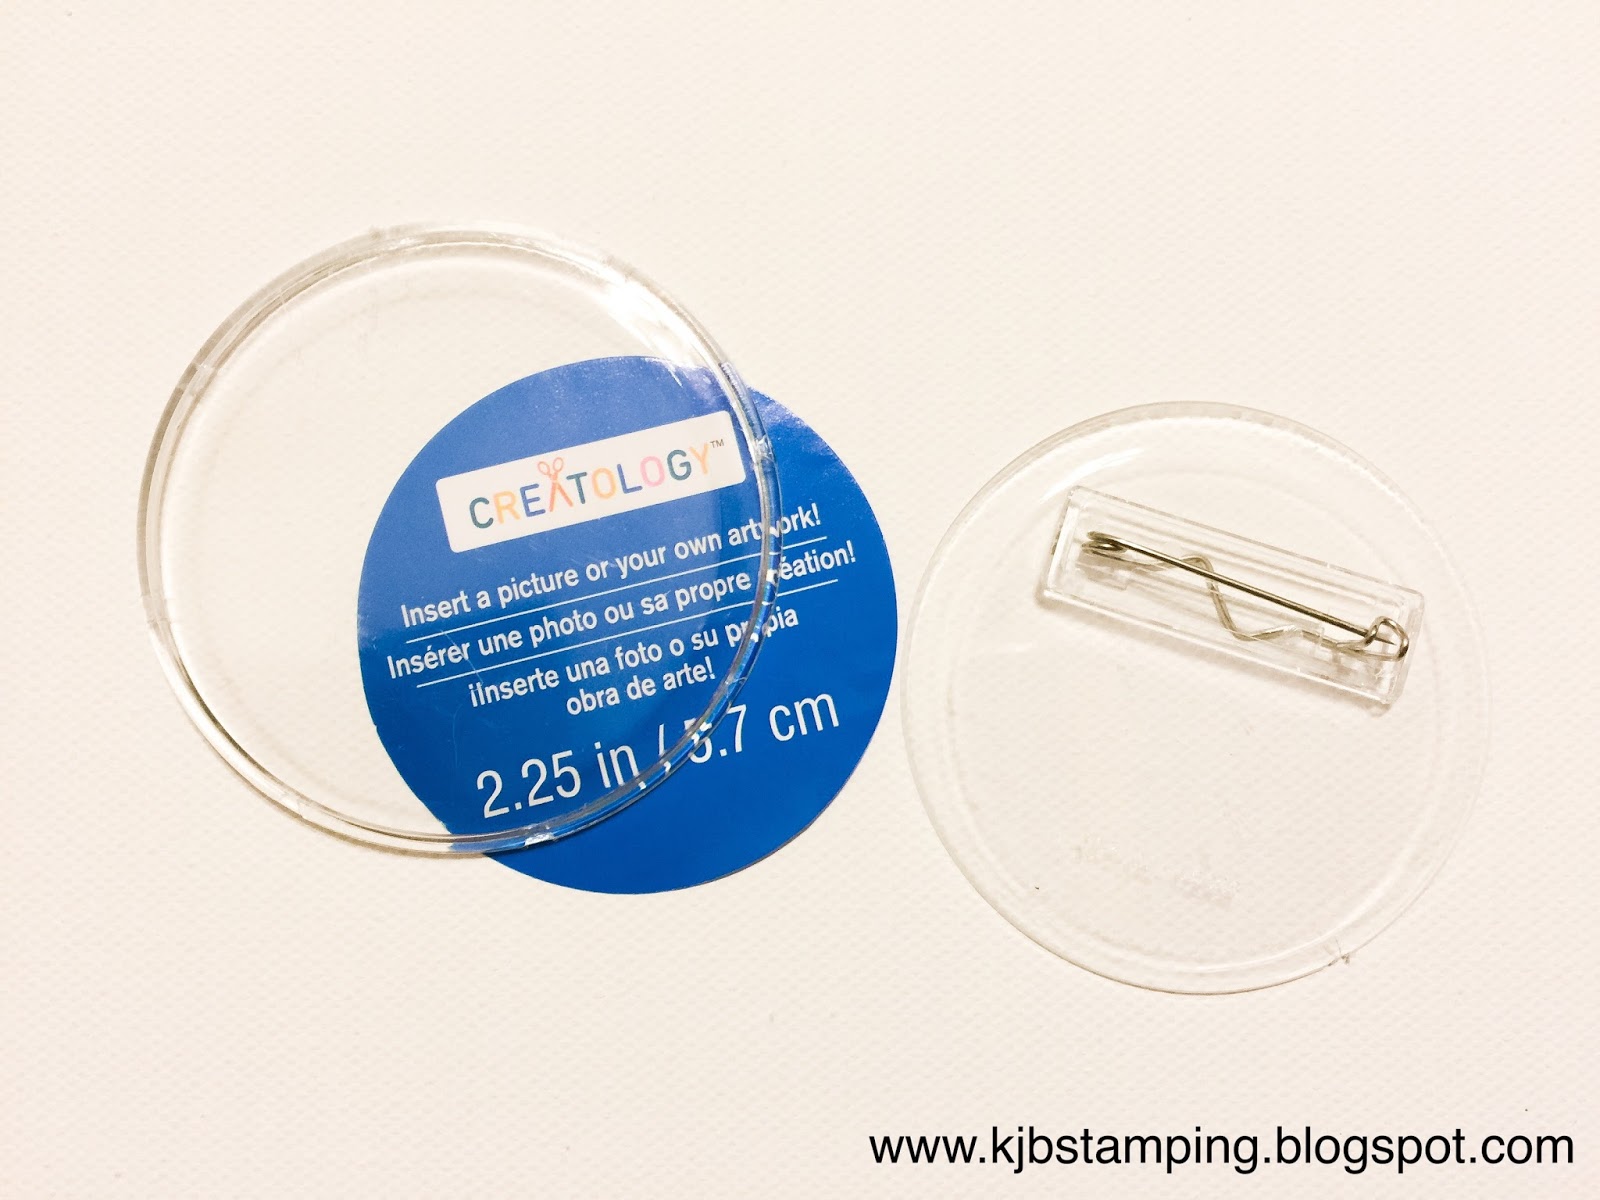
The inserts are not quite big enough to completely fill the buttons; if you look at the photo of the buttons still in the packaging, you can see a bit of clear space around each blue insert. So I used a compass to draw a circle that's slightly smaller than 2.25" in diameter on an index card and cut that out to make my template. Then I used that to trace 12 circles on smooth white cardstock (I have also found that plain paper works just as well - budget win!) and chose images to stamp on each circle. (This party did not have a theme, so I chose generic images all from Sweet Stamp Shop so that the images would all have the same general style and feel. You could certainly use any stamps you have, mixing and matching to create a set that works for your party theme, if you have one.) Since the kids going to the party were fairly young, I decided to go with a few large images on each button and stamped them in black ink. I purposely did not add any sentiments to the buttons.

Once the buttons were stamped, it was quick and easy to cut them out, put them in the buttons, and pop the backs on. I left them black and white on purpose; one of the activities my friend planned for the party was for the kids to each choose a button and color it themselves. Then they'd truly have a personal party favor to take home and wear!

I decided to also make her son a "birthday boy" button that he could wear for the whole party to make him feel extra special on his big day. Are these not completely adorable?

This project cost only $0.42 per child, since I already had all the stamps and ink on hand. You can't beat that for a budget project that's unique and totally cute! And really, the possibilities are endless for these buttons. Let your imagination fly!
Thank you so much for stopping by and visiting today! We'd love your feedback on this post, so please feel free to comment below. And if you decide to make your own stamped buttons, tag us on Instagram (@teachplancraft, @jes_planning) so we can see your awesome creations. Have a great day!
Stamp sources: All stamps from Sweet Stamp Shop:
love these, had not clue they had those inserts..thought you had to have a button maker (which i know our school has..but not something the average joe could use).
ReplyDeleteI know, aren't they great? I couldn't believe it when I saw these at Michaels! Hope you decide to try making some! 😀
Delete